How to Make Inexpensive Personalized Christmas Ornaments
Our Christmas Tree 2010
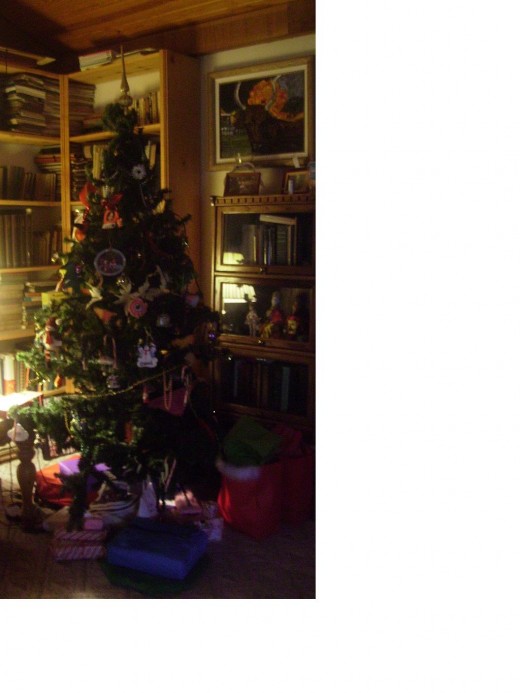
Some people decorate their Christmas trees with expensive and fragile ornaments. In our house, ornaments for the Christmas tree are much more casual and personalized. They include discarded costume jewelry, small toys that no longer see any use, and old pictures that represent family members in different periods of their lives. We like to mark our progress and development and see old images in a new light each year.
My favorite types of ornaments are the ones we make ourselves from old photographs. Today, Bow and I are going to make a new ornament from a picture of Sword.
A Christmas Card Ornament
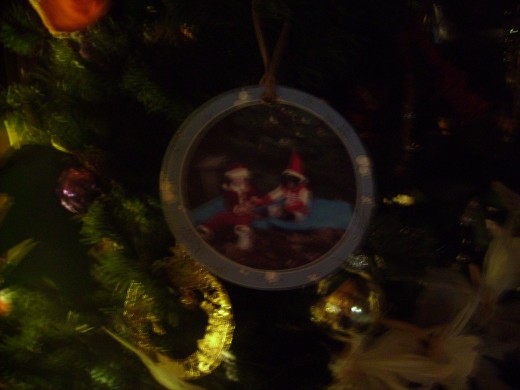
An Old Christmas Card as an Ornament
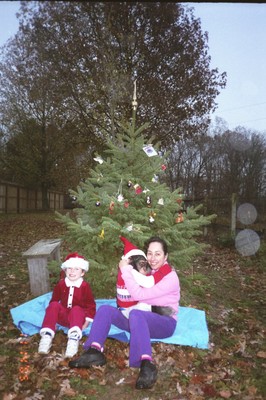
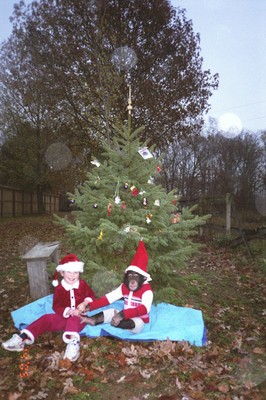
One of of my favorite ornaments on our tree is really just an old Christmas card from 2005 with a picture of Sword and Bow sitting outside next to a pine tree decorated for Christmas. It’s not laminated, and it hangs from a tree by a rubber band strung through the hole in the round card, but I treasure it, anyway.
I remember that I laid out a blue tarp on the ground, dressed the kids in holiday attire, and we set about decorating the tree for the photo session. It was still in November. My fall interns had just left, but I had to take the shot in time so that I could order the personalized Christmas cards. It started raining just as I took the pictures, and we had to break it up pretty fast.
I no longer order personalized Christmas cards. We are trying to keep to a tighter budget these days. But that card hanging from our tree will always remind me of those times when Sword and Bow and I were free to roam outside together.
The Image We Used for the Christmas Card
Other Favorite Ornaments
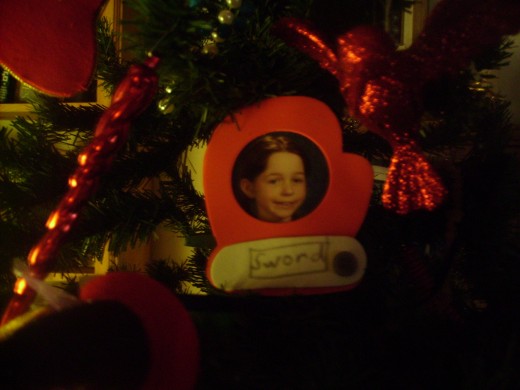
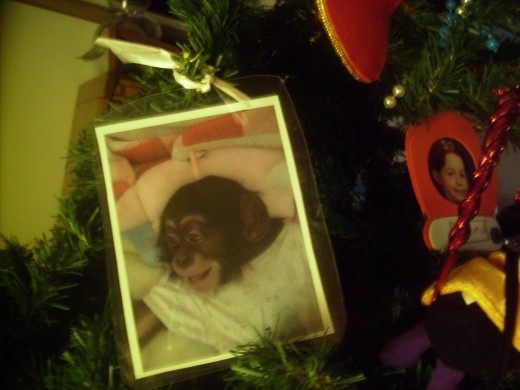
Other favorite ornaments are completely hand made. There is the one brought home by Sword from school one year, and there is the laminated baby picture of Bow that hangs by a ribbon. They didn’t cost anything, but they were fun to make, and they will last a lifetime.
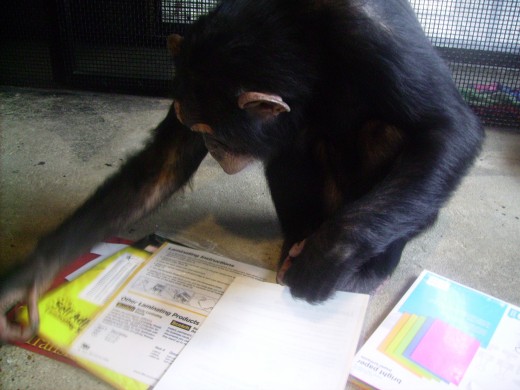
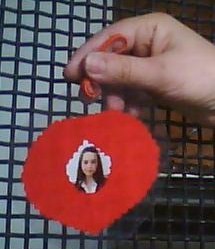
Today, I’ve decided to add a new ornament to our collection. I’m using a defective passport photo of Sword’s. The other item we will need, besides construction paper, is a laminating sheet.
Self-laminating sheets are something that we are oversupplied with now, so I don’t have to go out and buy any. We used to have to laminate all of Bow’s lexigram menus, but since he began to spell, we just post the letters on the glass and there is no need to print out new words and then laminate them. If Bow hears a new word now, he can spell it.
An Ornament based on a photo of Sword
Laminating Sheets
An Old Ornament of Bow
Our Supplies for Making This Ornament
Current Picture of Sword

The New 2010 Ornament
Instructions for Making an Inexpensive Ornament
You will need:
- a photo of a family member
- construction paper
- scissors
- self-laminating paper
- a hole punch
- a rubber band
What to do with the construction paper
Fold the construction paper in half, and then cut into a half-circle or some other shape of your choice. Then cut a half-shape to fit your picture in the middle of the folded paper. Open up the paper. If you used a circular shape, then there should be a circular piece of construction paper with a circular hole in it.
Positioning the photo and construction paper on the laminating sheet
The self-laminating sheet is made of one part that is simply transparent, and the other side, which is sticky and transparent. The sticky side is covered up with a paper that you later peel off.
Place your construction paper on top of the transparent-but-not-sticky side of the laminating paper. Arrange everything face down. Place the photo on top of the construction paper so the face shows through the hole. (You won’t be able to see the face at this point, but you should be able to tell that it fits through the hole in the construction paper). Then — and this is the tricky part– remove the paper covering from the sticky part of the laminating paper and smoothly pat the sticky part to make it cover the items you have laid out on the transparent side. Do not let any air bubbles form as the sticky side settles down. Use a sort of patting motion with one hand over the sticky side as it falls into place to make sure that no air pockets form.
What to do with the scissors, the hole punch and the rubber band
After the laminating process is done, cut the laminating sheet around the construction paper, leaving plenty of transparency past where the construction paper ends. You do not want the transparency and the construction paper to be coterminous, because then the laminating paper will fall apart. Leave plenty of edge past the construction paper so the sticky and non-sticky parts of the laminating sheet can stay together. (The construction paper prevents them from sticking.)
Use the hole punch to punch a hole at the top of the laminating sheet in an area above where the construction paper is. String the rubber band through the hole and loop it, so you can hang the ornament from your tree.
The New Ornament Hanging on the Tree
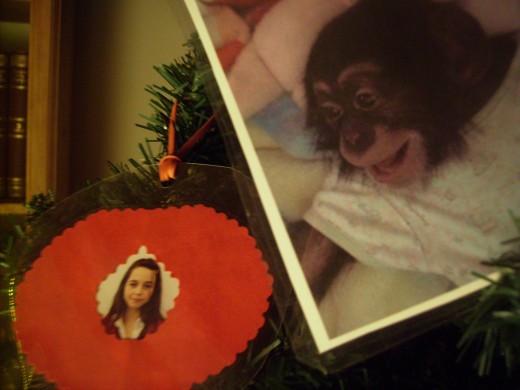
When Sword Met Bow
Now hang your new ornament on the tree, and see how it blends in with everything else!
(c) 2010 Aya Katz
Related pubs
COMMENTS

-
Thanks, SweetiePie! I can’t believe how fast time passes, and these ornaments do remind me of that.
-
I enjoyed seeing all the ornaments your family made over the years.
-
Thanks, SteveoMc! I think this is a craft anyone can do. The results are really nice, but it doesn’t require any special skills.
-
Love the ideas, I will try some of them out and see how it works, I am a klutz when it comes to crafts, but I might be able to do this one.
-
Thanks, Kind Regards! I like that newer photo of Sword, too. It was too small to do much else with, though, than turn it into a keepsake ornament. Sometimes it’s the small things that help us get into the holiday mood.
-
Aya Katz, It’s so nice to see these photos. In her most recent picture, Sword reminds me of my best friend from high school’s daughter. They’re in that same age group. You’ve made a very homey and personalized holiday for your family. Kind Regards


I am not sure how to reach you directly by email so I’m posting a comment. Several years ago, on June 27, 2013, you posted an interview with an author named F.L. Light. I am interested in some of his work–specifically his several dramas based on the life of the Earl of Essex.
Do you have any idea how I might reach him directly? I have found his blog but no information on contacting him.
Thanks for whatever help you can offer.
I am so sorry. F.L. Light passed away a couple of years ago. Here is a link about that:
http://theodosiaandthepirates.blogspot.com/2017/02/remembering-poet-fl-light.html